Hey sweet friends! OK, I know. I hardly post anymore. The last few months have been full of tons of stuff and my priorities have heavily shifted on family and helping my oldest with school. My poor girl is having a tough time in math. But...I also have been focusing a lot on my house too.
I do love crafts. But I have a sweet spot in my heart for decorating. I've always been too shy to share stuff on my blog because I kind of wing it when it comes to decor and furniture redo's but I figured I could start sharing with you some upcoming things I have planned.
For those of you who don't know, we bought this house about 2 years ago but 3 months after moving in my husband lost his job (
he found an even BETTER one now) in the middle of us remodeling our master bath. And to this day, it sits unfinished.
And the rest of the house needs some work. I love our house but we still need to tweak things to have it fit the way we live. So I hope to share this journey with you friends to keep me accountable to get it done.
But in the meantime I have small little projects I am working on. One project is this set of shutters we found for free on the side of the road. It looks like they were a closet door or something. My plan was to cut them half to make four shutters are create a headboard for out queen size bed. But they come up short. And if I kept them intact, and lie them horizontally, they are too long. Bummer.
So I think I may use them for interest in a bookshelf vignette or something. Not sure what. I have enough memo boards but I do love that idea. I just don't "need" it. Wall space in my home is precious and I don't want to clutter them with too much "stuff."
But I did decide to distress them a bit with paint. I ended up using a sponge instead of sandpaper to do this so that I could go faster and layer it with paint for the look I want. I wanted it to kind of look like it had paint layers peeling back over time.
So the first thing I did was paint it a really pale blue...almost white but dry brushing it lightly.
When it was dry to the touch, I took a really wet sponge and lightly wiped it back and forth to start peeling back paint.
Then I used a darker light blue and did the same thing. Dry brushed it one and sponged it off. I did this several times leaving a bit more paint on then the last time. This is what it looks like with a lot of dark wood showing though. I was looking for it to be lighter so using a light grey paint, I began covering up more of the dark wood.
This is actually the back but wanted you to see the color before :)
I like both distressed looks but ended up happy with this lighter look.
The sponge made it much easier to work with. Faster too. I found that the less wet the sponge was, the harder it was to get the paint off. So I kept the sponge wet but not soaking wet and full. It was so much easier then using sandpaper and much faster too. :)
So here it will sit in my bedroom next to my ugly fake tree until I can decide what to do next. :)
(So sorry for the weird pictures. Something is up with my camera but I can't figure out what I did to it.)
Until the next time my friends!


 Hey sweet, lovelies!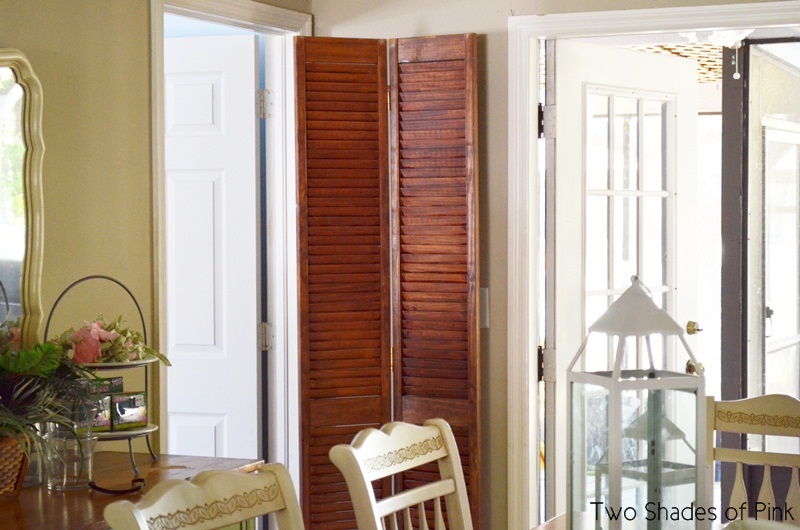


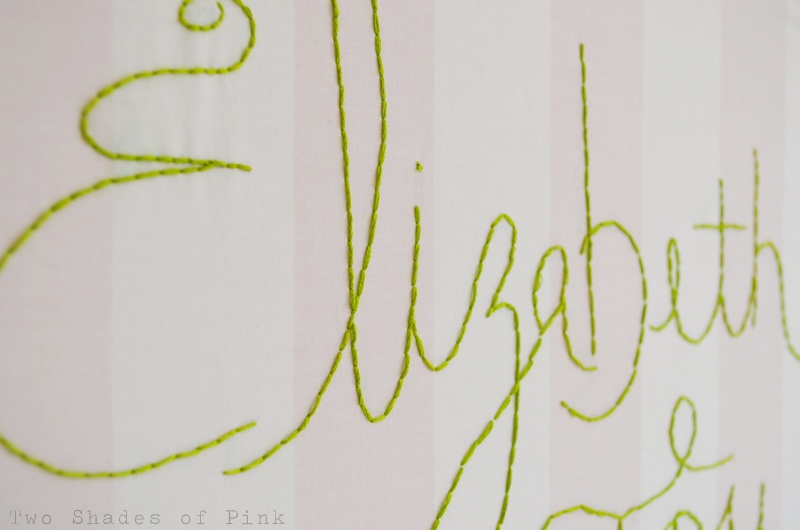 I used a pink and white striped bed sheet as the background fabric and free handed the name lightly in pencil. I then just embroidered over the lettering with a back stitch.