

Y'all.
I have wanted to try this little idea for like a year now. I have been obsessed with cupcake liners for like ever. They are so pretty but when you actually bake with them, they end up washed out and faded so the presentation falls kinda flat. I know about the ones that stay vibrant but I cant find them as easily with all the pretty designs. Soooo...I buy them and hoard them. Then I thought...
cupcake liners + cookies = ♥
I think it's a match made in baking heaven.

I host a bible study every Monday at my house so I get the good luck of all the leftovers for snacks. This week I had a bunch of leftover cookies so this was the perfect time to try this idea out and style some photos.
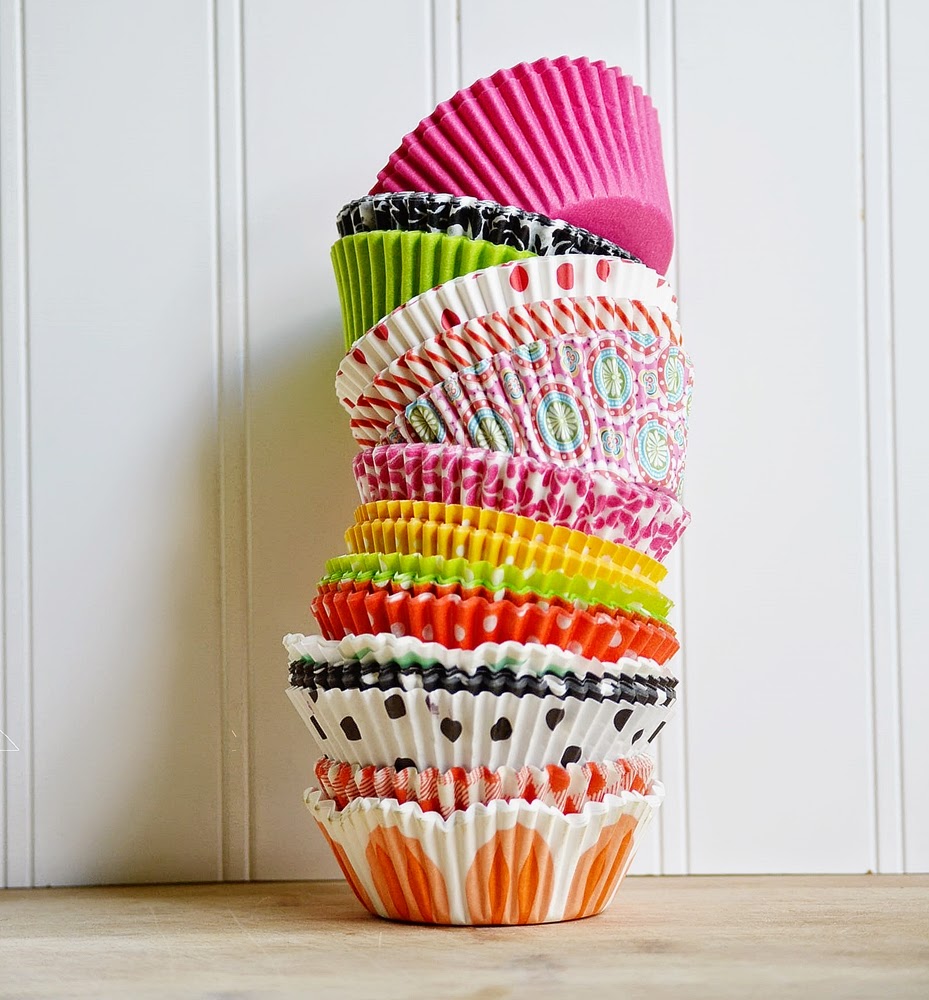
(cupcake liners from bakers stock)
I got out my lovingly hoarded, leaning tower of cupcake liners and got to work.

It's pretty easy. First, you flatten out your liners. If you are a perfectionist you can use an iron and spritz them with a puff of steam. Using a non-toxic, Elmer's Naturals Glue Stick, I just went around the edges only halfway. Then I slid the cookie in and glued it the rest away around to close it up.
I love these glue sticks and no one is paying me to say that.
I use them for everything and I buy them in bulk whenever I see them.
*If you are still not too keen on the glue stick idea here is a great diy recipe for a food safe glue that is edible.

I made a cute label (yes, I am well aware it was a chocolate chip cookie I put in there but my aspirations to have different cookies battled it out with my efficient self to just use what I had...efficiency won) and wrapped it in twine. Now look at it all snug in it's pretty little package!

Another fun idea is to make it into an open pouch.
This is great for a larger cookie. I was able to fit two smaller ones in this pouch.

Just fold and glue it about 1/3 of the way down (instead of in half) on the wrong side of one liner. Then glue the folded one to the other flat liner, wrong sides facing each other, as shown in the picture.

This one is tied off with some twine and the label is attached with a binder clip.

You can also make a cute heart label, cut it out with a circle cutter, and use a glue stick to adhere it.
Simple and super cute presentation.
I love this idea for favors at a party, to pack as a little surprise in a lunch box, or even on a sweet treat in a picnic basket. I can picture this as diy wedding favors too.


Cookie packaging happiness. :)

Cute! Great idea.
ReplyDeleteThis is an adorable idea, Jessica!
ReplyDeleteDo you mind if I share it on my Cutie Pie Cottage facebook with a link to here?
I too have quite a collection of liners and I keep changing my mind about what to do with them!
♥
This is such a cute idea! I have so many liners and will definitely be doing this. Thanks for sharing! Pinned!
ReplyDeleteI love it!! This would be a perfect treat to send in to teachers when school starts.
ReplyDeleteIt always brings a smile to my face when a post of yours graces my blog roll!!!
ReplyDeletenot sure how often you pop in here any more, but you should know that I spent an perfectly delightful 2.5 hours or so last night oooh-ing, ahhhhh-ing (and pinning) over your creations :) :) :) blessings to you!
ReplyDeleteYou just completely made my night. I so wish I could blog more but I home school the kiddos and its just hard to have the time. So I pop in when I can. You have no idea how much this blessed me!
Delete