Image Map
Showing posts with label Fabric Flowers. Show all posts

March 25, 2013

Fabric & Moss Spring Wreath


Happy Monday my friends! 
We are officially on Spring Break and my oldest daughter has been throwing up....blech! By poor girl is on the mend so we are just hanging out on the home front with lots of snuggles and hugs. :)
I wanted to do a quick post to share a wreath I made for a really good friend of mine.  She had these handmade grapevine wreaths from a woman she knew just hanging out at her house.  I had noticed her  pinning ideas on pinterest and offered to pretty them up.

February 26, 2012

A Pretty Baby Shower

Happy Sunday y'all! 
 It has been a jam packed week over here with all the baby shower planning.  But yesterday was the day and we had such a lovely time.  So I just wanted to share some of the fun things I made to put this party together. I don't have a lot of photos because playing the hostess makes it hard to pick up a camera.
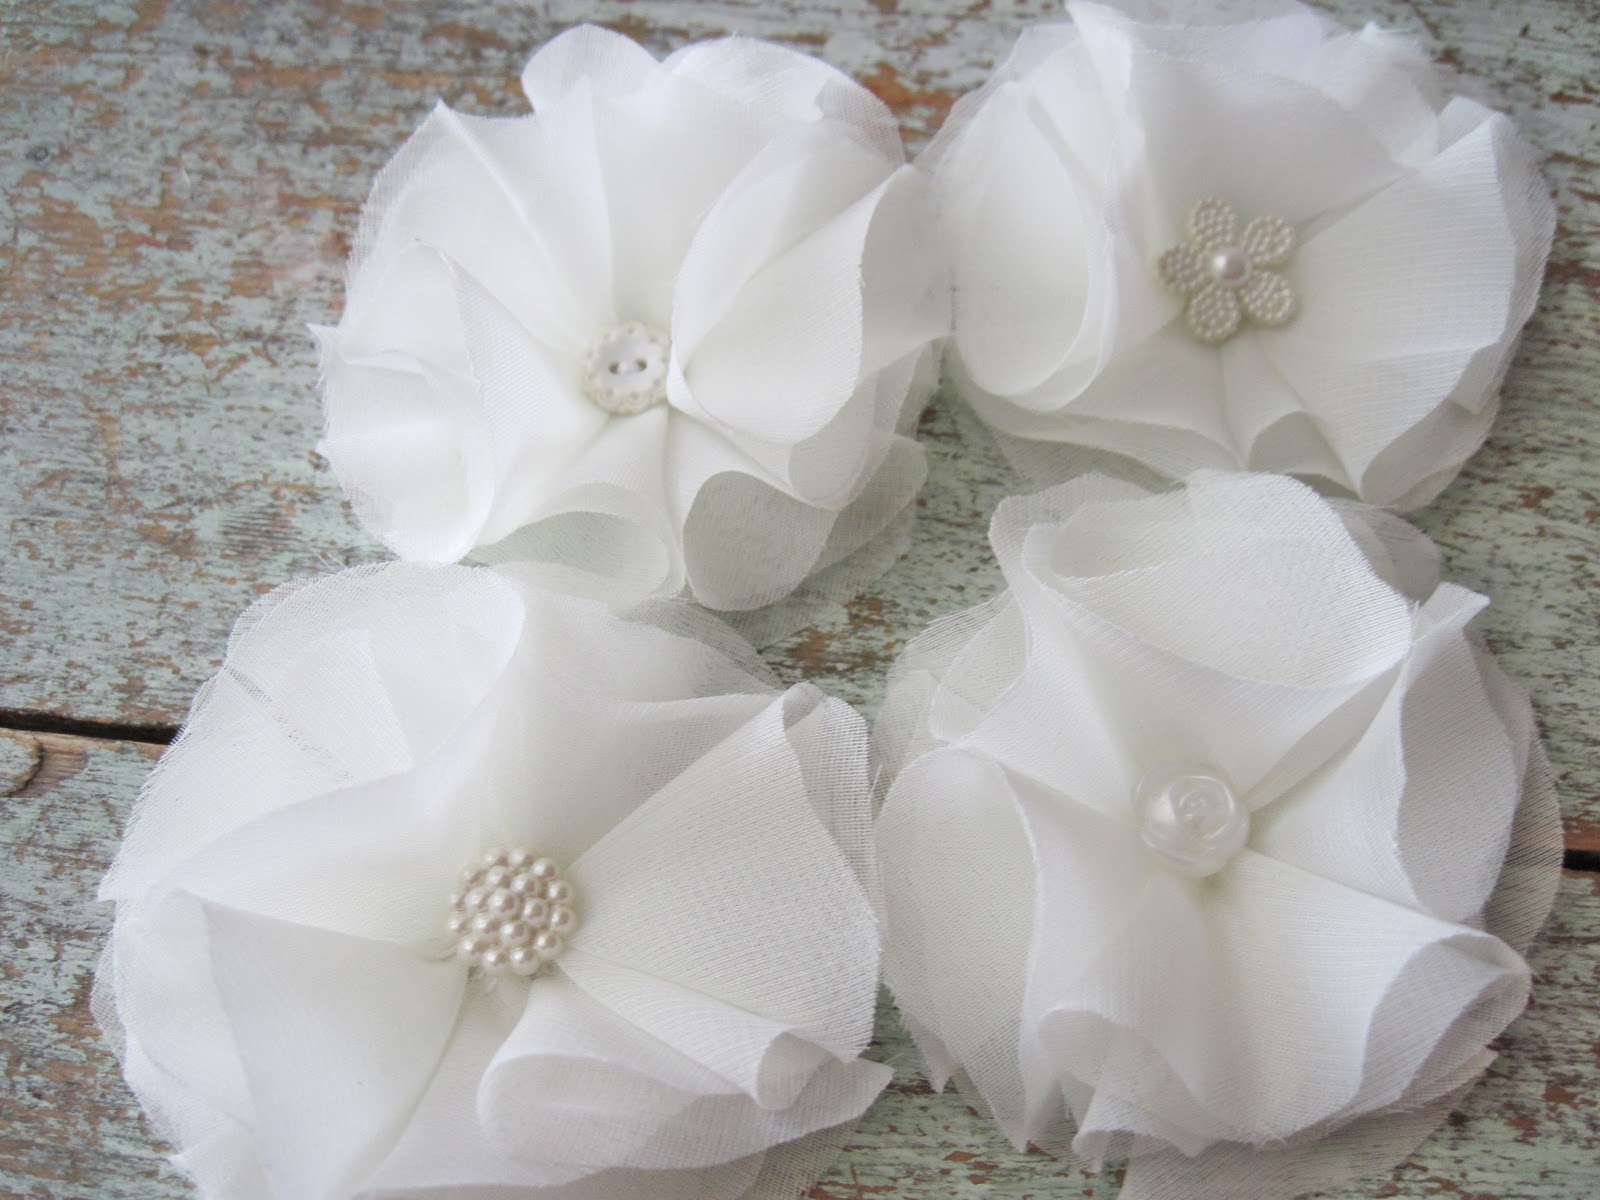
My friend Laura made these amazing cupcakes...they are SO GOOD! And I love that the cupcake picks were really tall.  I like the look.  I made them from a curtain panel I thrifted and some buttons.
I know you have seen me do a paper doily garland before but maybe it is still exciting since I added buttons? Hmmm...
Yes.  Yes, I believe it is in fact thrilling to see a paper doily garland and now with added buttons.  
I made this with bakers twine and double sided tape.  So easy.  And I used what I had on hand to cut costs too.  Thrifty and thrilling.  Oh yeah.
 
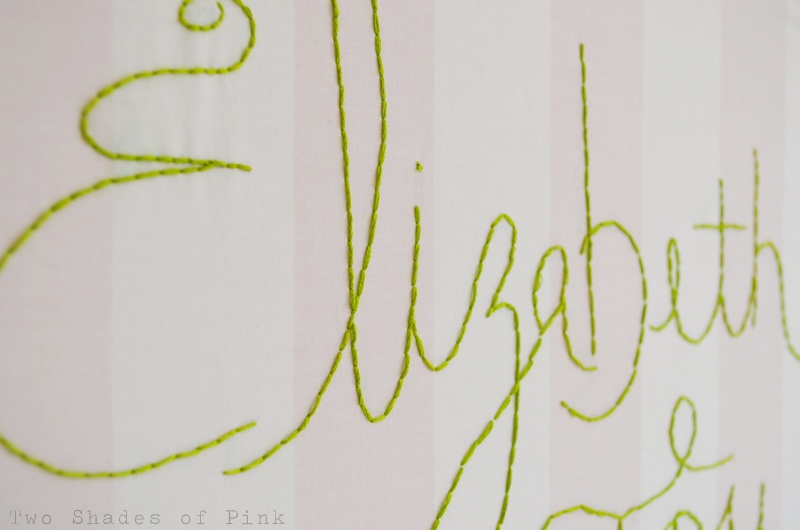
This was the only decent shot (even with an arm in the pic and looking a tad overexposed) I got of the embroidery hoop art hung over the fireplace.  Thought you might want a peek. :)
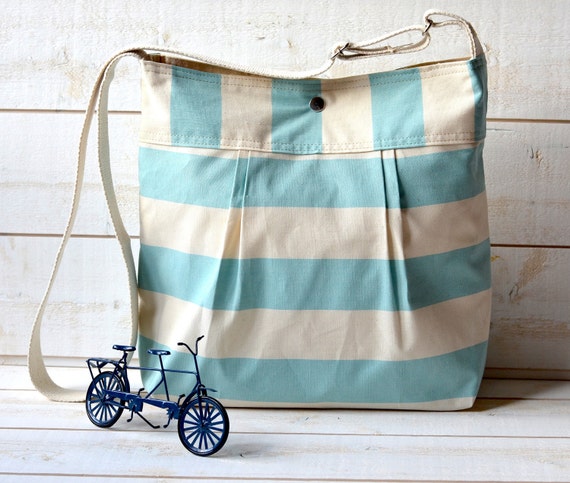
This is my BFF opening my gift to her. I am smitten with this diaper/messenger bag from the etsy shop, ikabags. I love, love these bags and I am so getting one for me! Here are some of my favorites...
Stripes make me ridiculously happy.
The shop is from France so you will pay extra for shipping but the quality of these handmade bags are amazing!  I love them and wished I owned about 10 of them.

Now back to other party details...:)
I made these cards for all the guests to write a prayer, blessing, or well wishing for the baby and Kelly. They are made with scrapbook paper and embellished with bakers twine and buttons.  I had so much fun making these!
I found the frame on the side of the road ready for the trash during a little ride to look at Christmas lights back in December. Since my arm is still weak, I had my husband do the work of sanding, painting and adding the chicken wire to the frame. Then I just hung the cards with little wood clothespins.
Here are a bunch filled out.  Aren't they so pretty like this?
The favors waiting by the front door were 4 oz mason jars filled with sugar scrub.  A friend and I put these together and made two batches to fill 24 jars.  One batch (doubled the original recipe) was 5 cups of sugar, 2 cups of olive oil, and 8 tablespoons of lemon juice. I got the recipe from Stephanie Lynn over at Under the Table and Dreaming. Her original recipe makes 12 oz so we just doubled it to save time.
I would have tied them up with string and pretty labels but with around 22 women there, I was just plain done in!  And I figured the pretty tops were enough. :)

So happy I got to share this with all of you wonderful friends.  
Have a fabulous day!
P.S. Sometime today or tomorrow, check out sweet Kimberly's blog who will be doing a series on parties all week.  A great bunch of bloggers are sharing tips and tricks and I think some of my ideas will be included today.. 
Go check it out!:)


February 21, 2012

Embroidery Hoop Wall Art

Well here I go again.  I am in PARTY MODE.  I am planning a baby shower for my very best friend in the whole wide world this Saturday. Kelly is having her 3rd child and it is her first GIRL!  Being a girl mom myself, I am pretty excited and can't wait to meet her precious daughter. 


So one project I have done is this HUGE embroidery hoop wall art. I think it is 2 ft in diameter. Kelly is naming her daughter Elizabeth Joy and I thought it would be so sweet to make something to both decorate for the shower and also bring home for the baby's room walls. I plan on putting it above my fireplace since it is pretty large.
Here's a photo with my lens cap so you can see how big it is.
I used a pink and white striped bed sheet as the background fabric and free handed the name lightly in pencil.  I then just embroidered over the lettering with a back stitch.
The flowers are made from fabric scraps and all have a button for the center which ties into my "Cute as a Button" theme. 

I hope to show you more and I am praying Kelly listens to me since I banned her from my blog for the week. :) I think this idea has lots of potential for other creative word fun!  Hmmmm...I need to find a way to do this somewhere in my craft room. :)

Happy Crafting my sweet friends!

September 10, 2011

Guest Posting Today at Eighteen 25!


Happy Saturday Friends!
Just wanted to let you know that I am guest posting at Eighteen 25's annual Spooktacular today.  
I am beyond honored to be asked to participate with the INSPIRING and AMAZING group of bloggers contributing to this month long series.

So if you would like...peek in on this little DIY Fabric Birdcage for some lovely Fall decor!

April 9, 2011

Ruffly White Wreath

 Introducing My New Spring Wreaths!
I tell ya friends, this was a labor of love. My idea for a wreath was not at all what you see in these photos.  I was thinking along the lines of yarn with some fabric and felt flowers.  But I decided that I wanted something that could be a Year Round Wreath.

So I had a retired white bed skirt that I use for scrap material and there was still a lot of it.  So I decided to make the flowers you have been seeing like crazy on this here blog.
DISCLAIMER:  I am capable of making other kinds of flowers.  
I am just obsessed with ruffles right now.
But I think I am all ruffled out.  
But this was a LOT of material.  I actually ran out before I was even close to finished. 
But then the hubs and I were cleaning out the garage and I found another bed sheet that I had saved for material as well.  YIPPEE!
(Hence the need to clean our the garage.  I can't throw a blessed thing away)
What I absolutely ADORE is the fact that this was a slightly different color white...almost eggshell or ivory.  So if you look at it, the slight variation in the white gives it such pretty depth.  
I was so EXCITED to have a beautiful accident!! 
Beautiful accidents are the BEST!
The way I made it a year round wreath was just keeping the base white and then adding the flowers with straight pins that I can remove for each season.  I can wield  a hot glue gun with frightening tenacity so my restraint here should be applauded. I used different pins to be part of the flower designs and I think they turned out perfect.
Oh, did I mention I needed to make TWO since I have a double door entry?
Like I said...a labor of love. :) These little pretties were a 3 day project but worth every second!
UPDATE:  4/13/13
Check out my tutorial on how to make A Pretty Ruffle Topiary which shows how to make the ruffles for these wreaths. I hope to have a video tutorial up for these some time soon.

I hope all of you have a FABULOUS weekend.  
Hugs and blessings friends!

April 7, 2011

The Napkin Rings were Lonely...So I added a Runner to Match :)

WHEW!
Huge sigh of relief. Today was the day to turn in all of our donations for the auction. I think I will never procrastinate again.  This is a lie, of course but I will repeat this to myself anyway. I work best under pressure but I sure hate it when I am in it.

So.  The runner and how it came to be.  The napkin rings are so lovely but I felt it was not enough.  I would have bought napkins but...well, white is boring yet I wanted to stay neutral.  So I figured I would find a generic runner and just add my flowers to it.  Which I did.
But let me tell you how excited I was when I saw this runner at Target! I mean, it would totally match the texture thing I had going on when I added the flowers!  Whoa. And this runner is kinda....ehh...all by itself. But adding the flowers gave it this sweet compliment and I loved the outcome.

However.
I felt like my own one man sweat shop getting all this stuff done. The kids got nuggets and mac and cheese, the best husband in the world got them ready for bed...and I just sewed and sewed. Again, not digging the last minute thing.
I made 6 flowers, 3 for each side and they really worked out so well. But it did not seem quite right.
That space there to the left felt like it needed 3 more flowers. I had tried putting the flowers at the very end but figured if this hung over the ends of the table, the flowers would get lost and look a little weird. But sadly, I only had a yard of chiffon and I really needed 2 to make another 6 flowers. And 9 cups of coffee to jack me up and keep going.
So in a rare display of crafty resignation...I said it was fine. 
I am way too picky, and I am leaving it the way it is.
So I rolled it up, tied it with more twine, and smiled with the relief of being alllllllll done. :)

April 5, 2011

Pretty Little Napkin Rings

I have been a busy girl this past week.  I have been a crafting bee to get ready for an upcoming gala and silent auction we are attending at the end of the month. Like, a bit fancy.  I have no idea the last time I was fancy.

First, let me back up and explain.  For those of you who are new to reading my blog, my oldest daughter attends a unique Christian school that is a hybrid of classroom teaching and homeschooling.  The kids go to school 3 days a week and are home schooled two days a week. This community of parents and teachers work together to teach our kids both biblically and academically.  It truly is awesome.

So two times a year, the school holds two fund raising events.  A golf tournament in the fall and a gala in the spring.  The gala is super fun and we hold a silent auction where local businesses donate tons of gift certificates, products, and baskets.  Part of my contribution is to make several things that can be auctioned.

So this is my first COMPLETED (all others are "in process") item...these pretty napkin rings!

I first made some of the flowers from this ivory chiffon that I am loving to work with right now and using the buttons from my paper and button flowers.  I decided to make 6 since it is rare to find that many in a set. I know there is only 4 in the pic but I made 6.  Honest to goodness. Each flower has a different button sewn in the middle and I love how it makes each one a little unique.
And here's the fun part.  To make the napkin holders I used hemp twine and PVC pipe. The PVC were 43 cents each.  Oh yes.  Loving the way cheap materials.
All I did was wrap each one from the inside to the outside and used hot glue.  It was super easy but time consuming.  Took me 2-3 hours to do all 3. I did not want any gaps so I went slow. Then I hot glued each flower to the the rings.

Again, I am addicted to texture so I am loving all the contrast of rustic twine with the sheer, feminine flowers.  LOOOOOOVE it. Is that OK to say about your own creation?  But I do love it.

I promise to show you more projects as I make them.  So if I am a bit MIA this week...that is why. 
I am also working on some art pieces that I am pretty excited to share with you.  Nervous...but excited. :)

Hugs!
The DIY Show Off
Tip Junkie handmade projects


March 29, 2011

Chiffon Corsage: Good Living Magazine Project 3


Nope.  I  did not publish the wrong post by mistake and I do realize Mother's Day is almost 2 months away.
It IS a tad early to be featuring this but the magazine issue comes out this month and the next issue will not be until Summer.  So it needed to be on the blog for the tutorial and well...that's that. :)

We have all seen this flower craze ebb and flow but what I love about these flowers corsages is they are so delicate, feminine, and completely appropriate on a day like Easter and especially Mother's Day.  Who wouldn't love a handmade gift like this to treasure for always and not just for one day?
 I love these so much!  They have a modern feel without feeling too overdone.
Another bonus?
They are incredibly light on your wrist!
 This yummy grey and brown combo is just so pretty!

Here is how you make one...


 I will try to re-post this one closer to Mother's Day.  
Hugs and smiles to each of you dear friends!  
All of you bless my socks off!

linking to:
 
Tip Junkie handmade projects